
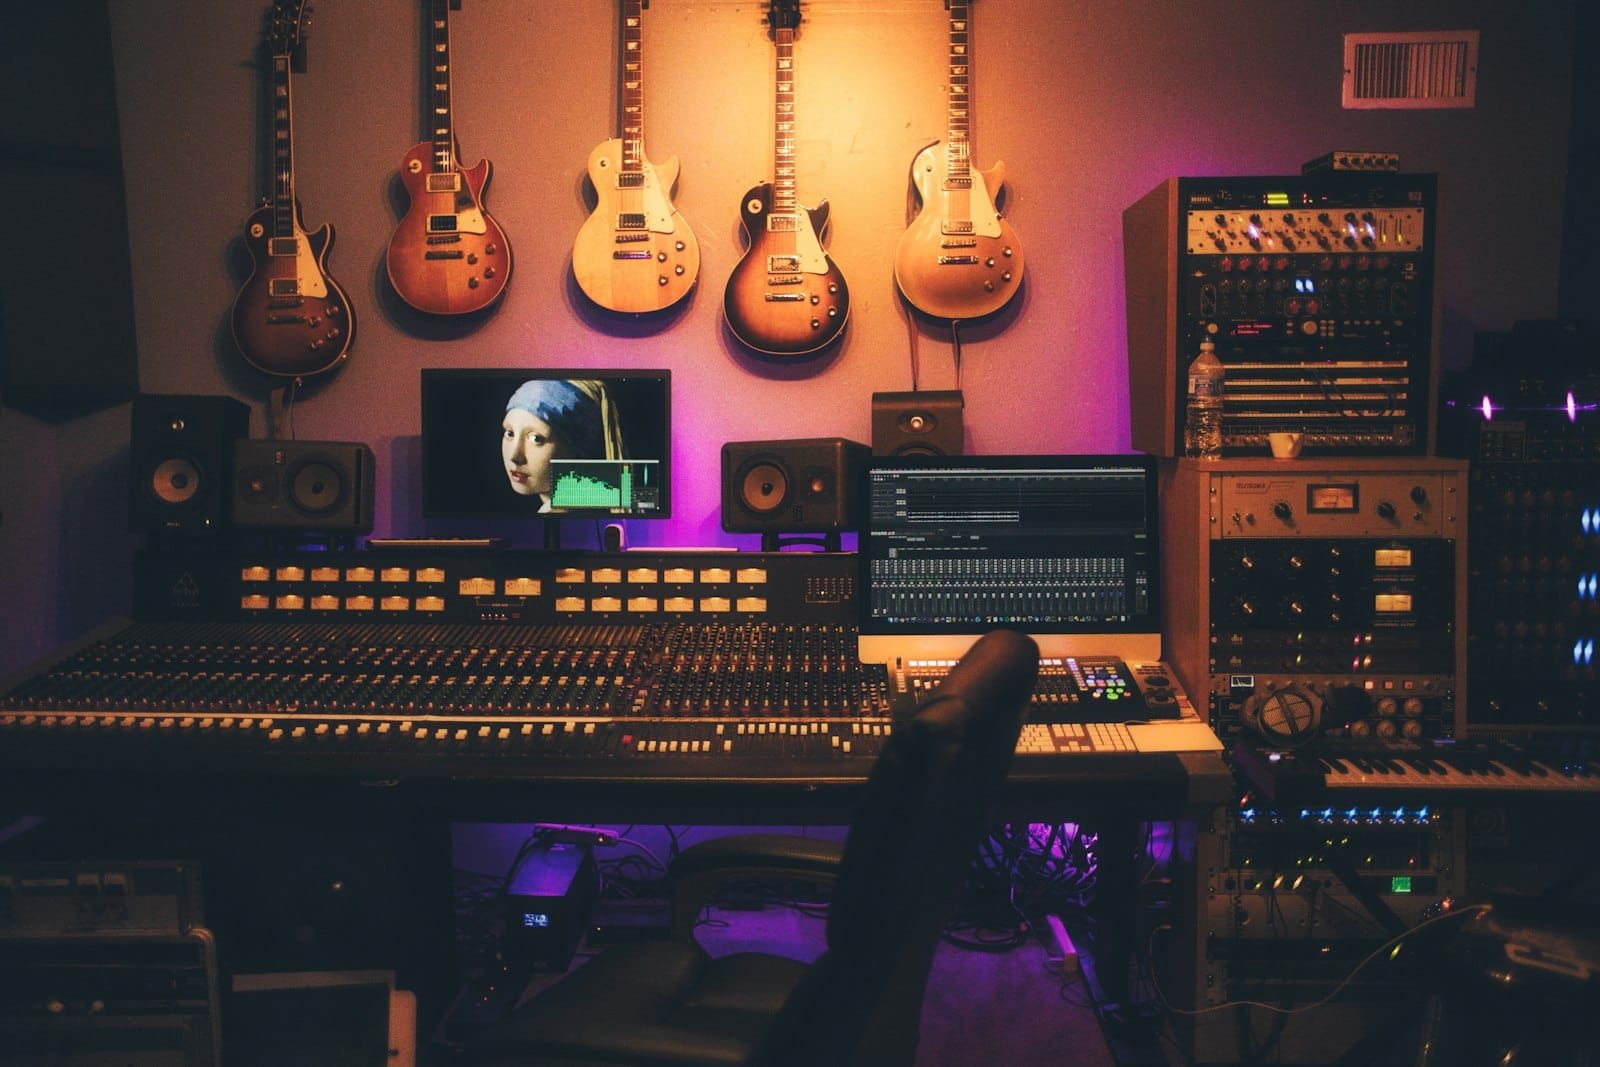
Vocal comping is the process of listening back to several recorded takes of the same vocal part and stitching the very best moments of each one together into a single, flawless performance. If you want to know how to comp vocals, the short version is this: record enough takes, organize them on a takes lane in your DAW, choose the strongest phrase (or even the strongest word) from each pass, assemble those pieces into one continuous “comp,” then smooth the joins with small crossfades. Done well, comping is invisible — the listener simply hears one confident, emotional vocal. This 2026 guide walks through the full workflow step by step, plus the mistakes to avoid and how the pros do it.
What you will learn
- What vocal comping is (and why it matters)
- Before you comp: record enough takes
- How to comp vocals step by step
- DIY vs. studio comping: what to expect
- Common comping mistakes to avoid
- Pro tips from a multi-platinum producer
- Frequently asked questions
What Is Vocal Comping (and Why It Matters)?
“Comp” is short for composite. Almost no professional lead vocal you have ever heard was a single, unbroken take. Instead, the singer records the part several times, and the producer builds one master performance from the best pieces — the most in-tune note here, the most emotional line there, the cleanest breath somewhere else. This idea comes straight from multitrack recording, where each pass lives on its own lane so you can compare and combine them freely.
Comping matters because it lets a real, human performance shine without forcing the singer to nail every syllable in one heroic pass. It protects the emotion of a take while quietly fixing the small stumbles. A great comp is the foundation everything else is built on: tuning, mixing and mastering, and even harmony stacking all start from a solid lead comp. Get the comp right and the rest of the music production becomes far easier.
Before You Comp: Record Enough Takes

You cannot comp what you did not capture. Good comping starts at the vocal recording stage. As a rule of thumb, record between four and eight full takes of the lead, plus a few extra passes on any tricky sections — the big chorus, a fast run, a high note that keeps slipping. Keep the mic position, headphone mix, and vocal warmth consistent across every take so the pieces glue together later.
Encourage the singer to fully commit on each pass rather than “saving” their voice; you want real, expressive options to choose from, not a folder of timid safety takes. Label sections as you go (verse 1, pre, chorus) so the comping session is fast and organized instead of a guessing game.
How to Comp Vocals Step by Step
Every modern DAW — Logic, Pro Tools, Ableton Live, Cubase, Studio One — has a takes or playlist system built for this. The exact buttons differ, but the workflow is the same everywhere.
1. Organize your takes into a takes lane
Stack all your recorded passes into a single track’s takes folder (Logic), playlist (Pro Tools), or comp lane (Studio One). Having them lined up vertically, phrase against phrase, is what makes comparison possible. Rename the track “LEAD COMP” so it is obvious which is the master.
2. Listen through and rate each take
Play the takes top to bottom and get a feel for the overall best performance. Many engineers mark a quick favorite for each section — a simple 1–5 or a star — so they are not re-deciding from scratch on every pass. Listen for three things: pitch, timing, and emotion. Emotion wins ties.
3. Choose the best phrase from each pass
Work in musical phrases, not random slices. Select the strongest version of “line one,” then the strongest “line two,” and so on. Sometimes a single word from take 5 beats everything else — grab it. This phrase-by-phrase selection is the heart of how to comp vocals.
4. Assemble the comp
Promote each chosen phrase up to your comp lane so they play back as one continuous vocal. Listen to the whole assembled comp end to end. Does it feel like one performance, or like a collage of different moods? If a join sounds jarring, swap in a neighbouring take that flows better — consistency of tone beats a technically “perfect” but disconnected line.
5. Smooth the joins with crossfades
Wherever two takes meet, add a short crossfade (a few milliseconds) so there is no click, pop, or gap. Try to cut on silences, breaths, or hard consonants like “t” and “p,” where an edit is easiest to hide. A well-placed crossfade on a breath is completely inaudible.
6. Check breaths, consistency, and mono compatibility
Finally, audition the comp once more focused only on the transitions and breaths. Keep natural breaths where they add life; tame or remove the distracting ones. Make sure the energy and mic tone stay even across the whole track before you hand it off to tuning and mixing.
DIY vs. Studio Comping: What to Expect
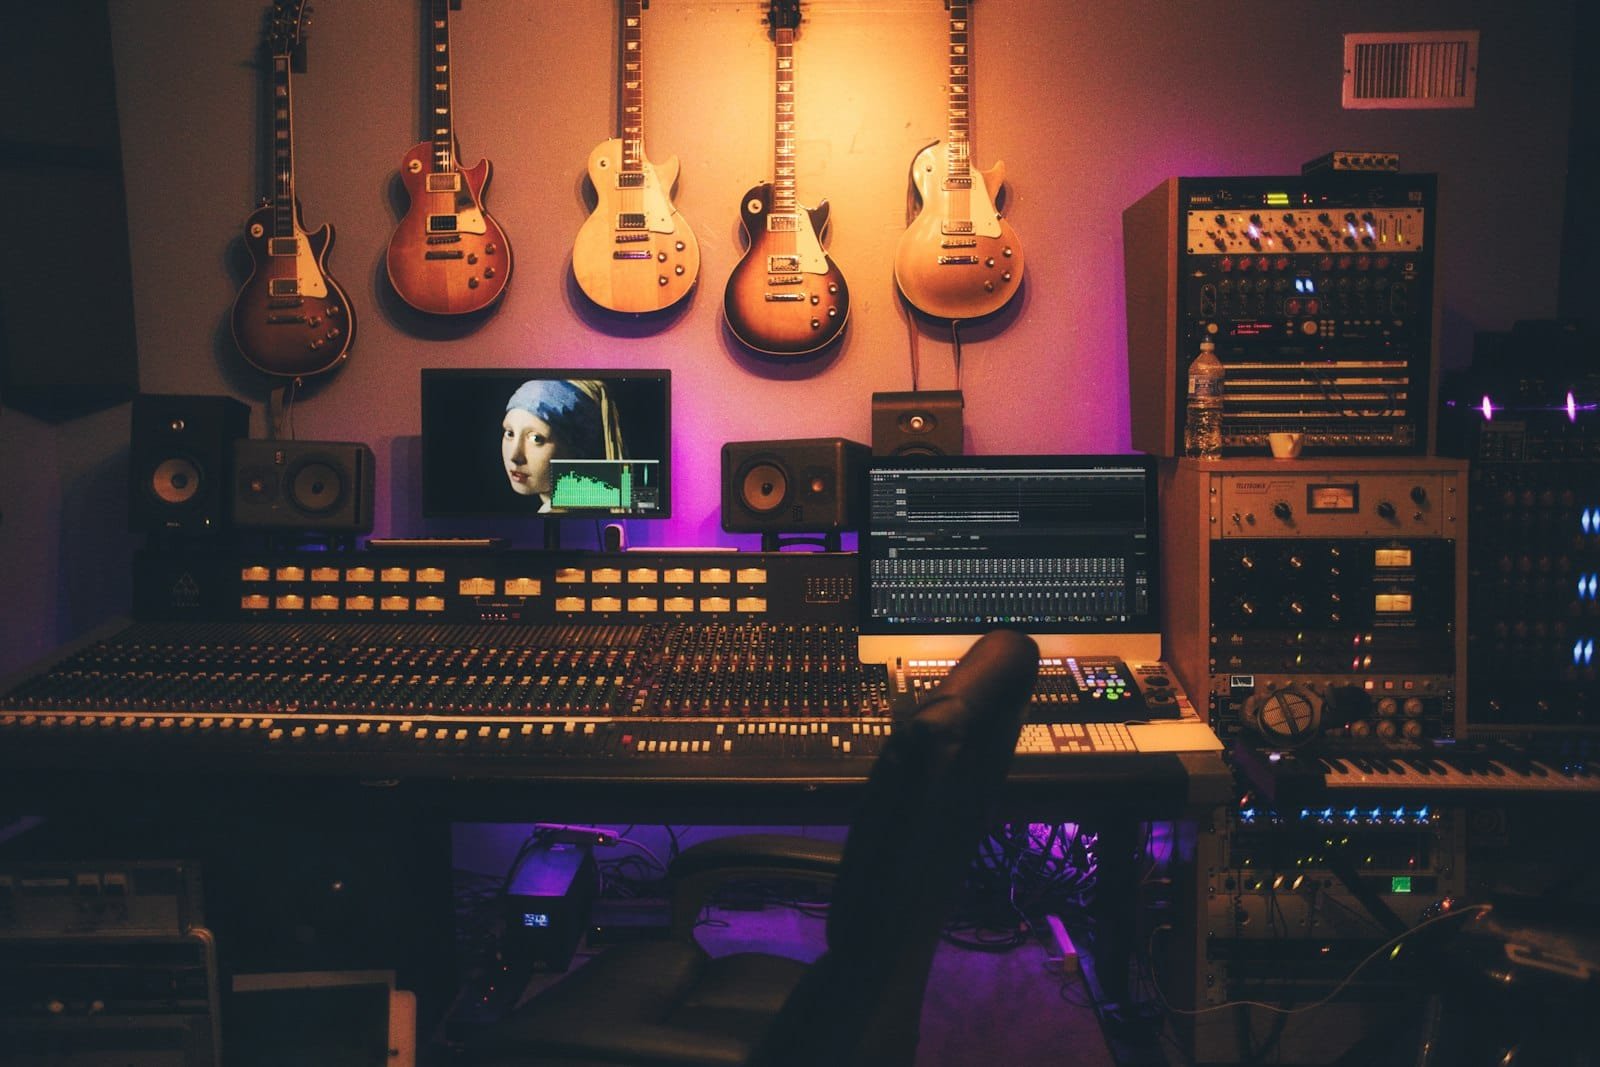
You can absolutely comp at home — but there is a reason artists still bring the job to a producer. Here is an honest comparison of your options.
| Option | Time & skill | Typical result | Best for |
|---|---|---|---|
| Home / DIY | Slow at first; you learn as you go | Good, if you have patience and a critical ear | Demos, learning, hobby projects |
| Freelance editor (online) | Fast turnaround, remote | Clean but generic; limited creative input | Tight budgets, simple parts |
| Studio engineer session | Fast, done with you in the room | Polished, musical, decisions explained | Serious singles and releases |
| Turnkey with a producer | Hands-off for you | Release-ready lead comp inside a full production | Artists who want a finished song |
At G Studio on Palm Jumeirah, comping is part of every vocal session rather than an afterthought — we track enough takes and build the comp with you, so you leave with a lead vocal that is already a real performance. If you are recording backing parts too, our guide on how to record backing vocals pairs perfectly with this workflow.
Common Vocal Comping Mistakes to Avoid
Even experienced producers slip on these, so watch for them:
- Chasing perfection over feel. A slightly imperfect line with real emotion beats a sterile, over-edited one every time.
- Comping too small. Jumping between takes every syllable creates a robotic, disconnected vocal. Work in phrases.
- Ignoring breaths. Deleting every breath makes a vocal sound unnatural and gasping in the wrong places.
- Forgetting crossfades. Hard edits between takes cause clicks that are painful to fix after mixing starts.
- Tuning before comping. Always build the comp first, then tune. Learn more in our guide on how to tune vocals.
Pro Tips From a Multi-Platinum Producer
A few habits separate a good comp from a great one. First, comp with fresh ears — take a short break after tracking so you judge takes on their merit, not on how hard they were to record. Second, keep an “alternates” lane of second-choice phrases; you will be glad you did when the mix reveals a line that suddenly does not sit right. Third, let the chorus lead the tone of the whole comp; match the verses to the energy of your best chorus, not the other way around.
George Yukhanov, who runs G Studio, comps this way on every session — the same process behind multi-platinum records, applied just as carefully to a first-time singer. That is the quiet advantage of working with a producer who has done it at the highest level and still enjoys sitting with a newcomer to find the take that makes them believe in their own voice.
Frequently Asked Questions
How many vocal takes do I need to comp?
For most songs, four to eight full takes of the lead plus a few extra passes on tricky sections give you enough options without drowning in choices. Quality and commitment matter more than sheer quantity.
Should I tune vocals before or after comping?
Always comp first, then tune. Building the comp on raw takes keeps your pitch-correction decisions clean and avoids tuning material you are about to throw away.
Is vocal comping cheating?
No. Comping is a standard part of professional record-making and has been for decades. It captures the best of a real human performance — it does not invent notes the singer never sang.
Can I comp vocals in any DAW?
Yes. Logic, Pro Tools, Ableton Live, Cubase, and Studio One all have takes or playlist features designed for comping. The workflow — organize, choose, assemble, crossfade — is the same in each.
How long does it take to comp a lead vocal?
A well-organized session takes roughly 30–90 minutes for a typical song. Labeling sections during recording and rating takes as you listen speeds it up dramatically.
Do I still need mixing after comping?
Yes. Comping gives you the best performance; mixing and mastering then balance, polish, and finalize it for release.
About the Author
George Yukhanov is a multi-platinum, award-winning author, composer and producer with 20+ years in music, ranked among the top 5% of producers worldwide. He is the rare multi-platinum producer who works openly with newcomers, and the founder of G Studio, a premium recording studio on Palm Jumeirah, Dubai, built around a Neumann U87 and Tube-Tech chain. Learn more at dubaimusicstudio.com.