
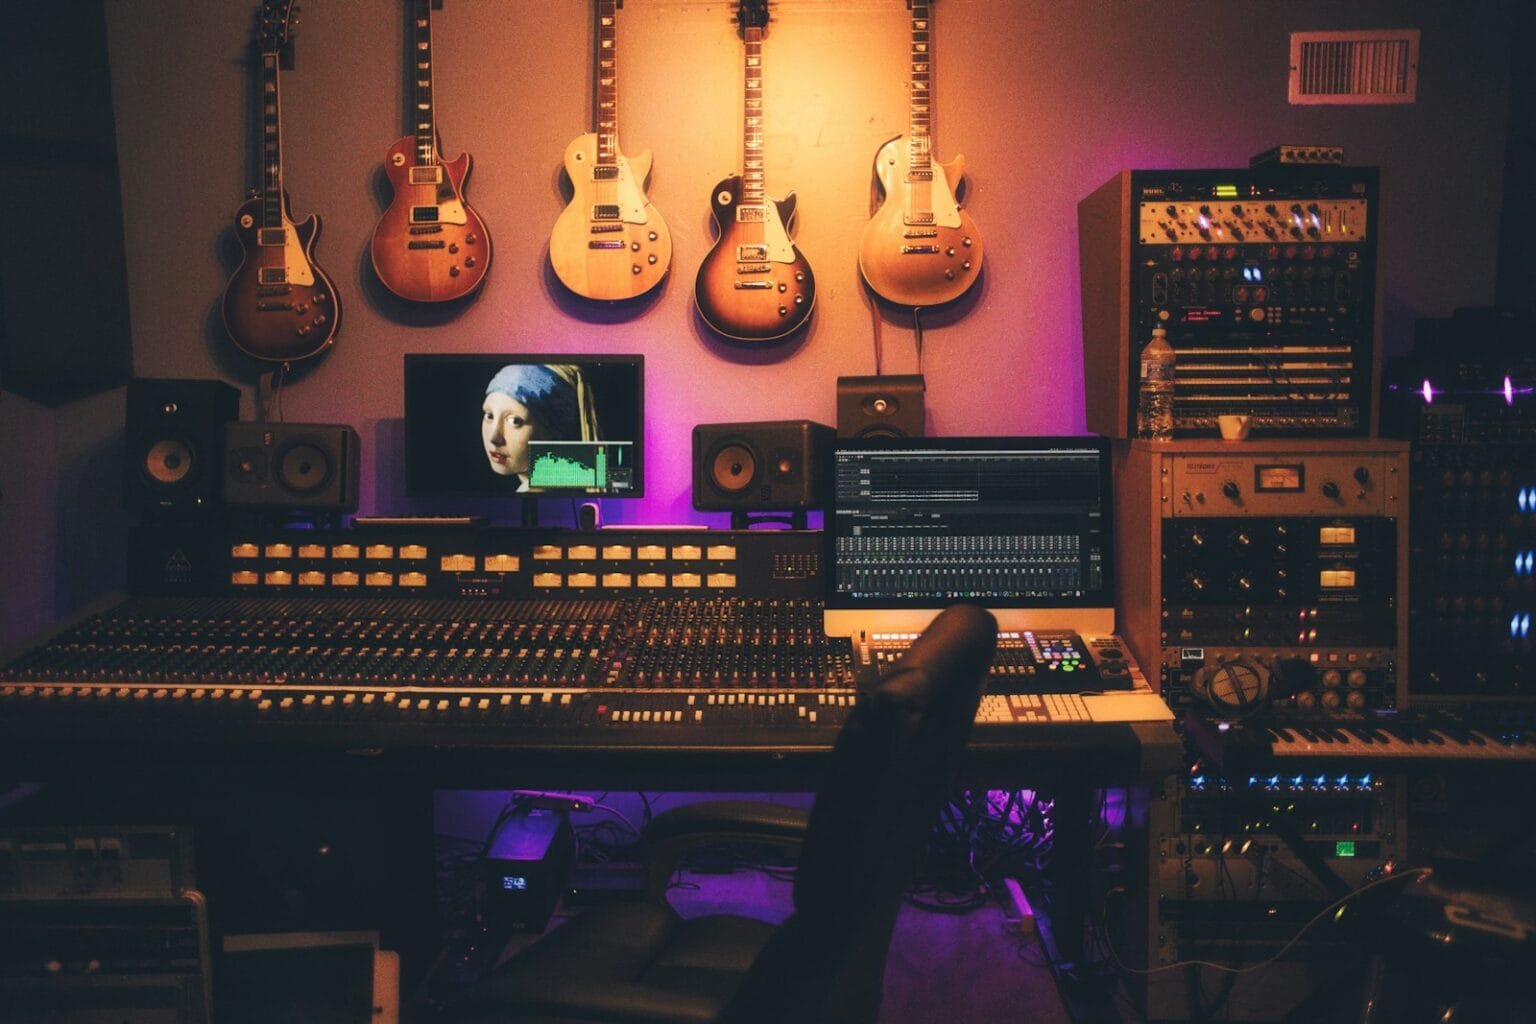
Recording acoustic guitar well comes down to four things: a guitar that is in tune and freshly strung, a reasonably quiet room with a little natural warmth, the right microphone placed in the right spot, and a clean signal path into your computer. Get those four right and even a modest home setup can sound rich, detailed and professional. This 2026 guide walks you through the whole process step by step – choosing a mic, placing it, setting levels, capturing a usable take, and editing and mixing – whether you are recording at home or in a professional Dubai music production studio.
What this guide covers
- What you need to record acoustic guitar
- Step 1: Prepare the guitar and the room
- Step 2: Choose the right microphone
- Step 3: Position the microphone
- Step 4: Set levels and capture the take
- Step 5: Edit and mix the recording
- Common mistakes to avoid
- Home vs. a professional studio
- Frequently asked questions
What you need to record acoustic guitar
You do not need a mountain of gear. A great acoustic guitar recording is mostly about technique and choices, not price tags. Here is the short list that actually matters.
A guitar that is in tune and in good shape
Old, dull strings are the single most common reason home recordings sound lifeless. Fit a fresh set a day before the session so they settle, then tune carefully and re-tune between takes. If you hear buzzes or rattles, fix them now – a microphone will magnify every flaw.
A room with a little warmth
The room is your second instrument. You want a space that is quiet (no fridge hum, no air conditioning roar) and not too reflective. A room with a rug, a sofa and some soft furnishings almost always beats a bare, echoey room. Avoid recording in a tiled bathroom or an empty hall unless you want that sound on purpose.
A condenser microphone
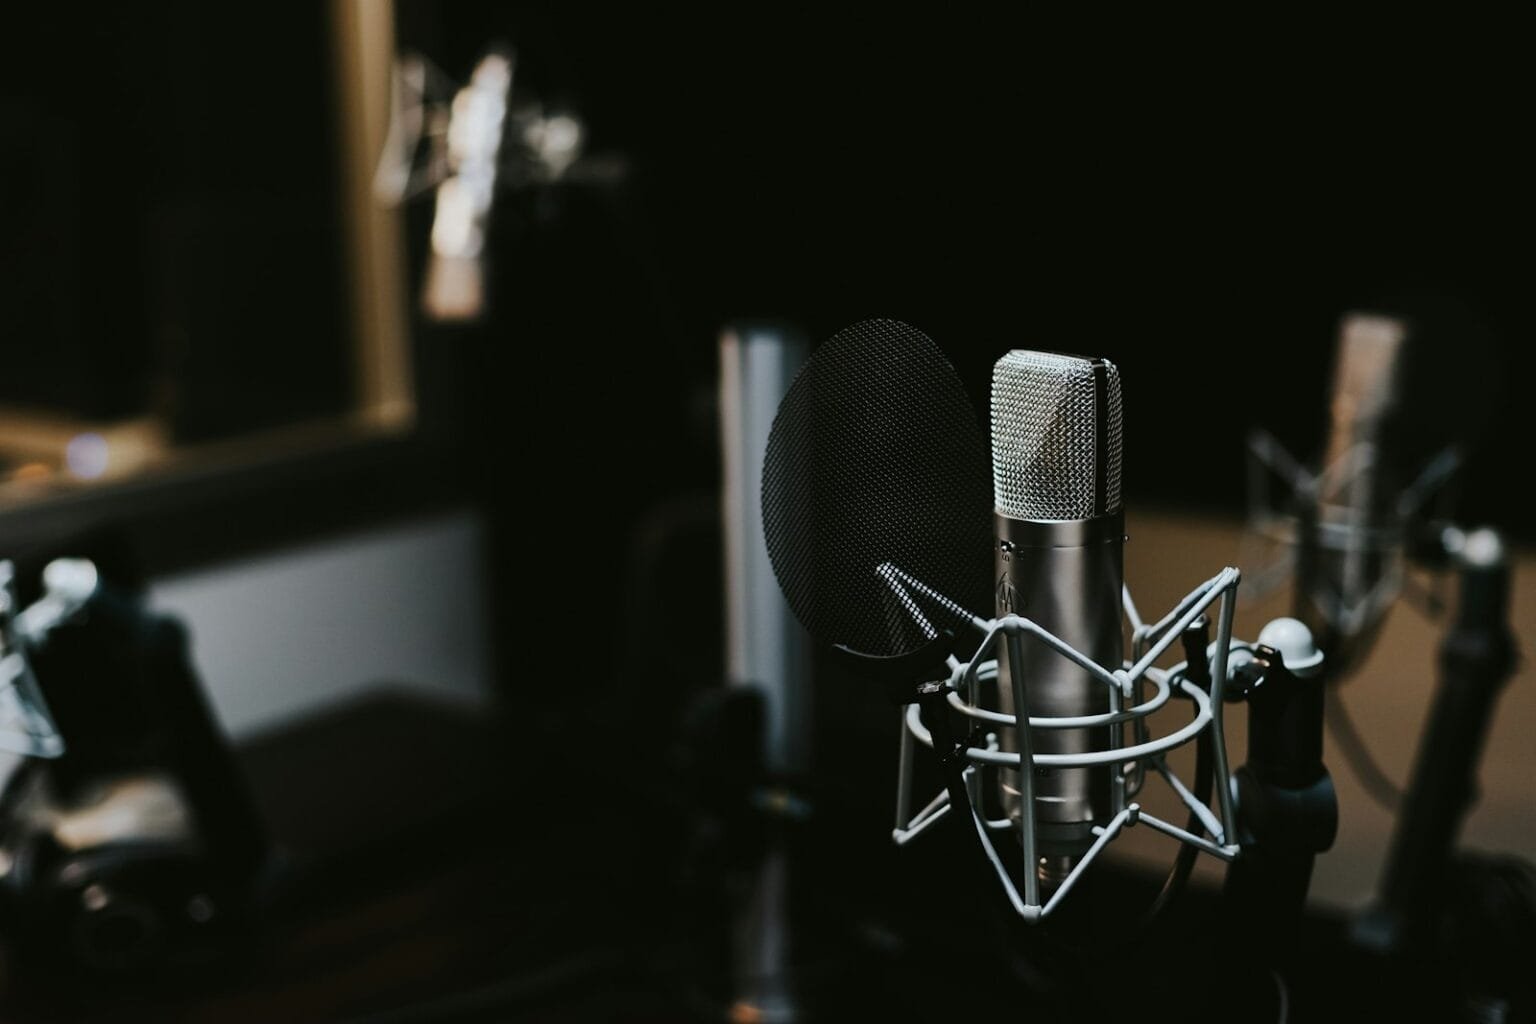
Acoustic guitar is full of fast transients and high-frequency sparkle, so a condenser microphone is the standard choice. A small-diaphragm condenser captures detail and string attack beautifully; a large-diaphragm condenser (like the Neumann U87 we use at G Studio) gives a fuller, warmer body. Either works – what matters far more is where you place it.
A clean signal path
You need an audio interface with a quality preamp, a microphone cable, and a pair of closed-back headphones so the guitar sound does not leak into the mic. Record into any modern DAW. Keep the gain clean; you are not looking for distortion here.
Step 1: Prepare the guitar and the room
Preparation is where most of the quality is won or lost. Before you hit record, do four quick things:
- Tune, then tune again. Tune under the same conditions you will record in, with the headphones on.
- Kill noise sources. Switch off the AC, fans and anything that hums. Silence your phone and close the window.
- Reduce reflections. If the room is bright and boxy, stand near soft furnishings or hang a thick blanket behind you.
- Remove mechanical noise. Take off jangly bracelets and a loud watch, and wear quiet clothing – a creaking chair or a buttoned sleeve brushing the top will end up in the take.
Spend five minutes on this and you will save an hour of editing later.

Step 2: Choose the right microphone
There is no single best microphone for acoustic guitar – there is the best approach for your room, your guitar and the part you are playing. The three setups below cover almost everything you will ever need.
| Microphone setup | What it gives you | Best for | Difficulty |
|---|---|---|---|
| Single small-diaphragm condenser | Detailed, focused, mono sound with clear string attack | Rhythm parts in a dense mix; fast, reliable results | Easy |
| Single large-diaphragm condenser | Warmer, fuller body with a rounded low-mid | Solo or sparse arrangements where the guitar carries the song | Easy |
| Stereo pair (XY or spaced) | Wide, immersive image with depth and space | Fingerstyle, instrumentals and featured guitar parts | Medium |
If you only own one microphone, start with a single condenser and master its placement before you worry about stereo. One well-placed mic beats two badly placed ones every time.
Step 3: Position the microphone
Placement is the real secret of a great acoustic guitar sound. Small moves of a few centimetres change the tone dramatically, so take the time to experiment.
The 12th-fret starting point
Aim the microphone at the point where the neck meets the body – roughly the 12th to 14th fret – from about 15 to 30 centimetres (6 to 12 inches) away. This gives a balanced blend of string detail and body warmth and is the most reliable starting position for almost any guitar.
Avoid pointing straight at the soundhole
The soundhole pumps out a boomy low-end resonance. Point the mic directly into it and the recording turns muddy and uneven. Angle the mic toward the fretboard instead, and use the soundhole only to add body if a take sounds thin.
Recording in stereo
For a wider sound, use two microphones. An XY pair (two mics with capsules close together at roughly a 90-degree angle) gives a tight, mono-safe stereo image, while a spaced pair opens the sound up but needs more care to avoid phase issues. The Wikipedia overview of stereo microphone techniques is a good primer if you want to go deeper. Whichever you choose, always check the result in mono to make sure the two mics are not cancelling each other out.
Step 4: Set levels and capture the take
With the mic placed, play the loudest part of your song and set the interface gain so the peaks land around -12 to -6 dBFS. That leaves healthy headroom and keeps the signal clean. Resist the urge to record too hot – a quiet, clean track is far easier to work with than a distorted one.
Now focus on the performance. A few habits that lift every take:
- Record a few full passes. It is faster to pick the best complete take than to patch a dozen small fixes.
- Use a click only if the song needs it. Solo, expressive pieces can breathe better without a metronome.
- Keep your dynamics even. Try not to lean in and get much louder on the chorus unless that is a deliberate musical choice.
- Capture a safety track. If you have a second input free, record a backup at a lower level in case the main take clips.
When you are tracking a full song, the acoustic guitar is usually recorded before the lead vocal, so take the time to get a confident, in-time part that the singer can lean on.
Step 5: Edit and mix the recording
Once you have your take, light editing and a careful mix bring it to life. Keep every move gentle – acoustic guitar punishes heavy processing.
Clean and comp
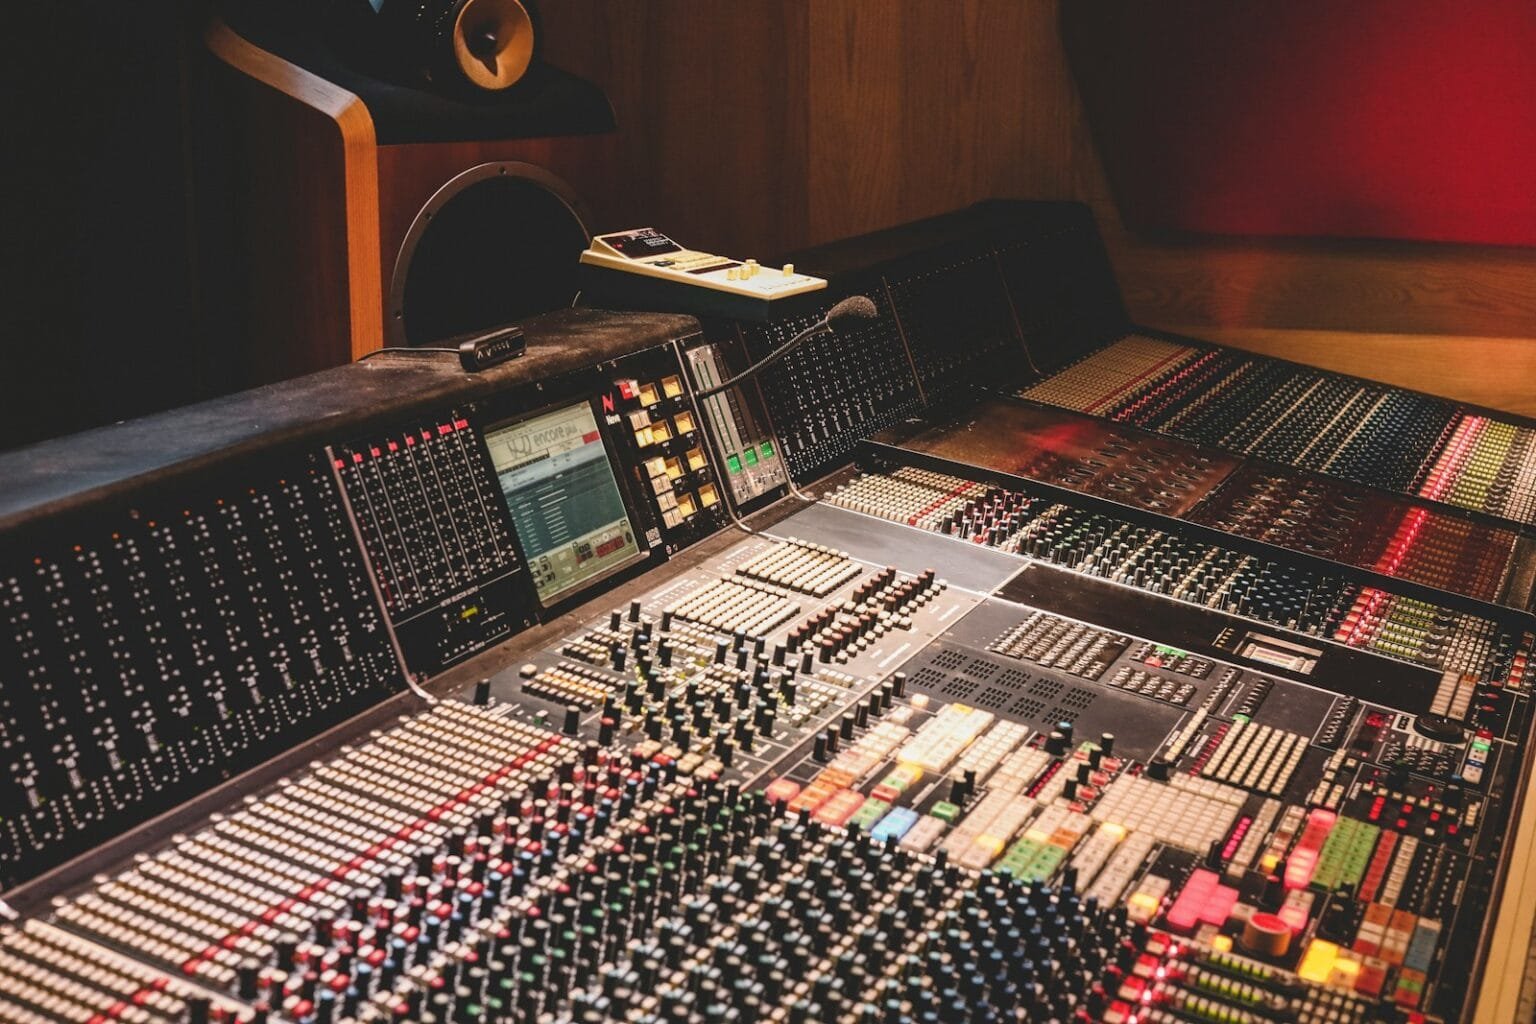
Trim silence, remove obvious string squeaks or chair creaks, and if you recorded several passes, comp the best sections together into one seamless part. Checking your takes against a professional reference track helps you judge tone and performance objectively.
EQ and dynamics
Roll off the very low rumble below about 80 Hz, tame any boomy low-mid buildup around 200 to 400 Hz if the guitar sounds muddy, and add a touch of air above 10 kHz for sparkle. A little gentle compression evens out the dynamics so the part sits steadily in the mix.
Space and polish
A small amount of reverb places the guitar in a believable space. In a full arrangement, pan a doubled rhythm part left and right for width, and keep a solo guitar centred. For the final loudness and balance across all your instruments, a dedicated mixing and mastering pass ties everything together.
Common mistakes to avoid
- Dull strings. Nothing kills an acoustic recording faster. Fresh strings, every time.
- Pointing the mic at the soundhole. Boomy, muddy and hard to fix later.
- Recording in a noisy or boxy room. Background hum and harsh reflections print permanently into the take.
- Setting levels too hot. Digital clipping cannot be undone – leave headroom.
- Over-processing. Stacks of EQ and compression make a natural instrument sound artificial.
Recording acoustic guitar at home vs. a professional studio
You can absolutely record a good acoustic part at home, and this guide will get you most of the way there. A professional studio changes the game in three places: an acoustically treated live room that sounds beautiful on its own, a locker of high-end microphones to match your guitar and the song, and an engineer who finds the perfect placement in minutes rather than hours.
At G Studio on Palm Jumeirah we track acoustic guitar through a Neumann U87 and a Tube-Tech MP2A chain in a treated room – the same signal path we use for the artists we produce. If the guitar is the heart of your song, it is worth capturing it somewhere that does it justice.
Frequently asked questions
What is the best microphone for recording acoustic guitar?
A condenser microphone is the standard choice because it captures the instrument’s detail and high-frequency sparkle. A small-diaphragm condenser gives focus and string clarity, while a large-diaphragm condenser like the Neumann U87 adds warmth and body. Placement matters far more than the specific model.
Where should I place the mic when recording acoustic guitar?
Start by aiming the microphone at the 12th to 14th fret, where the neck meets the body, from about 15 to 30 centimetres away. Avoid pointing it straight into the soundhole, which produces a boomy, muddy tone. Move the mic a few centimetres at a time and listen until the balance is right.
Can I record acoustic guitar at home?
Yes. With fresh strings, a quiet and reasonably warm-sounding room, one good condenser microphone and a clean audio interface, you can capture a professional-sounding part at home. The biggest home upgrades are a quieter room and better mic placement, not more expensive gear.
How many microphones do I need?
One well-placed microphone is enough for most rhythm parts, especially in a busy mix. Use a stereo pair when the guitar is featured – fingerstyle pieces, instrumentals or solo performances – where width and depth add to the music. Master single-mic placement first.
Why does my acoustic guitar sound boomy or muddy?
Usually the microphone is too close to the soundhole or the room is adding low-end buildup. Angle the mic toward the fretboard, move it back slightly, and in the mix roll off the sub-low rumble and tame the 200 to 400 Hz region until the guitar sounds clear.
How much does it cost to record acoustic guitar in a Dubai studio?
At G Studio, studio time is AED 450 per hour with an engineer and AED 600 per hour with George. Full turnkey song production, from recording through mixing and mastering, starts from USD 5,000. The right choice depends on whether you need a quick tracking session or a finished record.
Record your guitar with George Yukhanov
This guide was written by George Yukhanov, a multi-platinum, award-winning author, composer and producer with more than 20 years in music and songs that have earned over 500 million views and 50 million streams. Ranked among the top 5% of producers worldwide, George is the rare multi-platinum producer who still works openly and patiently with newcomers. At G Studio on Palm Jumeirah he records, produces and develops artists at every level – and he would be glad to help you capture your guitar and your songs properly.